I picked up a BAR for a pretty good price, but part of the deal was the rear of the trigger guard was broken. I have no idea how it was originally damaged, but I suspect a poor casting left some sort of stress fracture. Or, its possible the previous owner simply dropped it with the stock off. Either way, Browning made it very clear not matter how it happened, it was no longer under warranty.
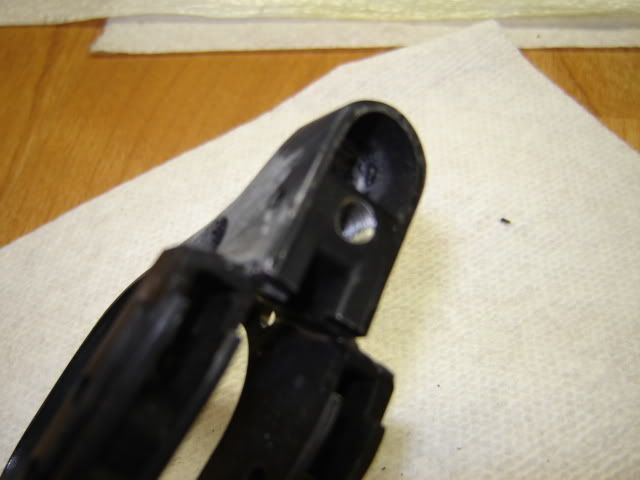
Anyway, this is what it looked like:


As you will notice, the broken portion houses the safety and its spring/detent. I called Browning, and the replacement trigger guard was $88 plus shipping. I decided before spending that kind of money, I would simply try and fix it. My first attempt was to have a jeweler friend try and weld it with some of his equipment. If you will notice, the trigger guard is cast pot metal, and doesn't lend itself to welding very easily. Anyway, he welded it somehow and it actually held pretty well. At least, it held until I tried to reassemble the safety.
If you will notice on the rear piece, there is a roll pin traversing the rear of the trigger guard. It's sole purpose is to hold the safety spring and detent in place. Well, you needed the Hammer of Thor to move this pin, and the piece subsequently fractured while trying to remove it. So much for welding, on to plan B!!
I realized very quickly that installing this roll pin after fixing the piece would place too much stress on the assembly. In fact, given how this portion of the trigger guard is well protected by the receiver and the stock, this is probably the most stress the trigger guard will see under normal usage.
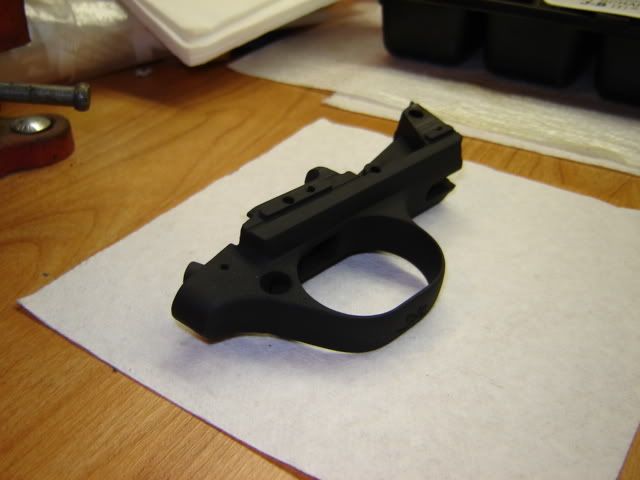
So, I decided to simply tap the hole that the spring/detent fit in. This allowed me to use a 8-32 plug screw to hold the detent and spring in place, and does away with the roll pin all together. Not only does this remove stressing the piece, but it is infinitely easier to reassemble! Here's where I tapped the guard:
Install the safety, drop in the detent and spring, screw in the plug, and you are in business. No more trying to hold the spring down while replacing the roll pin!
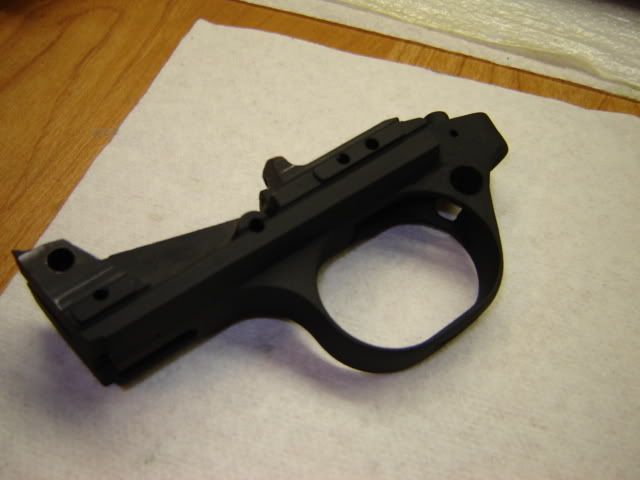
Anyway, this is how I reattached the pieces. I used 2-part clear epoxy to rejoin the two parts, and let it cure for 24 hours. It actually set up very nicely, and seemed to form a pretty strong bond. I then coated the area with JB Weld, and sanded it down to a smooth finish.
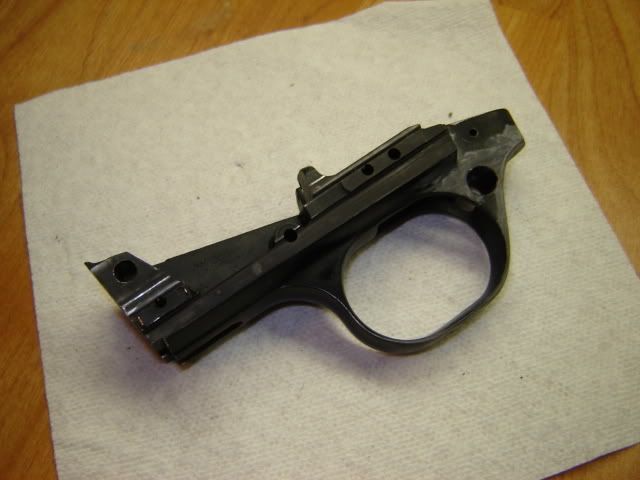
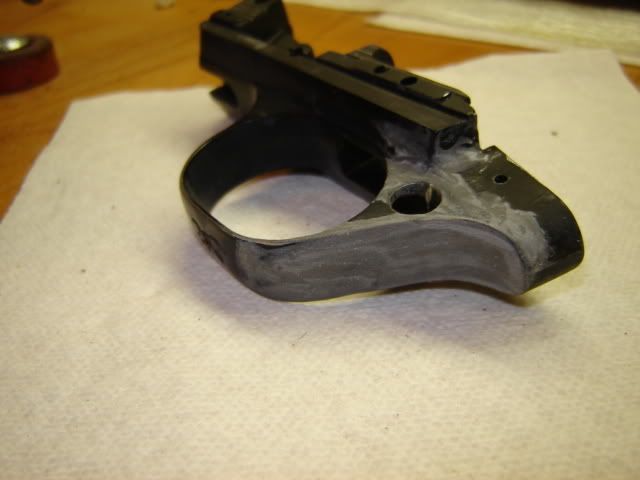
Anyway, this is what it looked like:
As you will notice, the broken portion houses the safety and its spring/detent. I called Browning, and the replacement trigger guard was $88 plus shipping. I decided before spending that kind of money, I would simply try and fix it. My first attempt was to have a jeweler friend try and weld it with some of his equipment. If you will notice, the trigger guard is cast pot metal, and doesn't lend itself to welding very easily. Anyway, he welded it somehow and it actually held pretty well. At least, it held until I tried to reassemble the safety.
If you will notice on the rear piece, there is a roll pin traversing the rear of the trigger guard. It's sole purpose is to hold the safety spring and detent in place. Well, you needed the Hammer of Thor to move this pin, and the piece subsequently fractured while trying to remove it. So much for welding, on to plan B!!
I realized very quickly that installing this roll pin after fixing the piece would place too much stress on the assembly. In fact, given how this portion of the trigger guard is well protected by the receiver and the stock, this is probably the most stress the trigger guard will see under normal usage.
So, I decided to simply tap the hole that the spring/detent fit in. This allowed me to use a 8-32 plug screw to hold the detent and spring in place, and does away with the roll pin all together. Not only does this remove stressing the piece, but it is infinitely easier to reassemble! Here's where I tapped the guard:
Install the safety, drop in the detent and spring, screw in the plug, and you are in business. No more trying to hold the spring down while replacing the roll pin!
Anyway, this is how I reattached the pieces. I used 2-part clear epoxy to rejoin the two parts, and let it cure for 24 hours. It actually set up very nicely, and seemed to form a pretty strong bond. I then coated the area with JB Weld, and sanded it down to a smooth finish.